
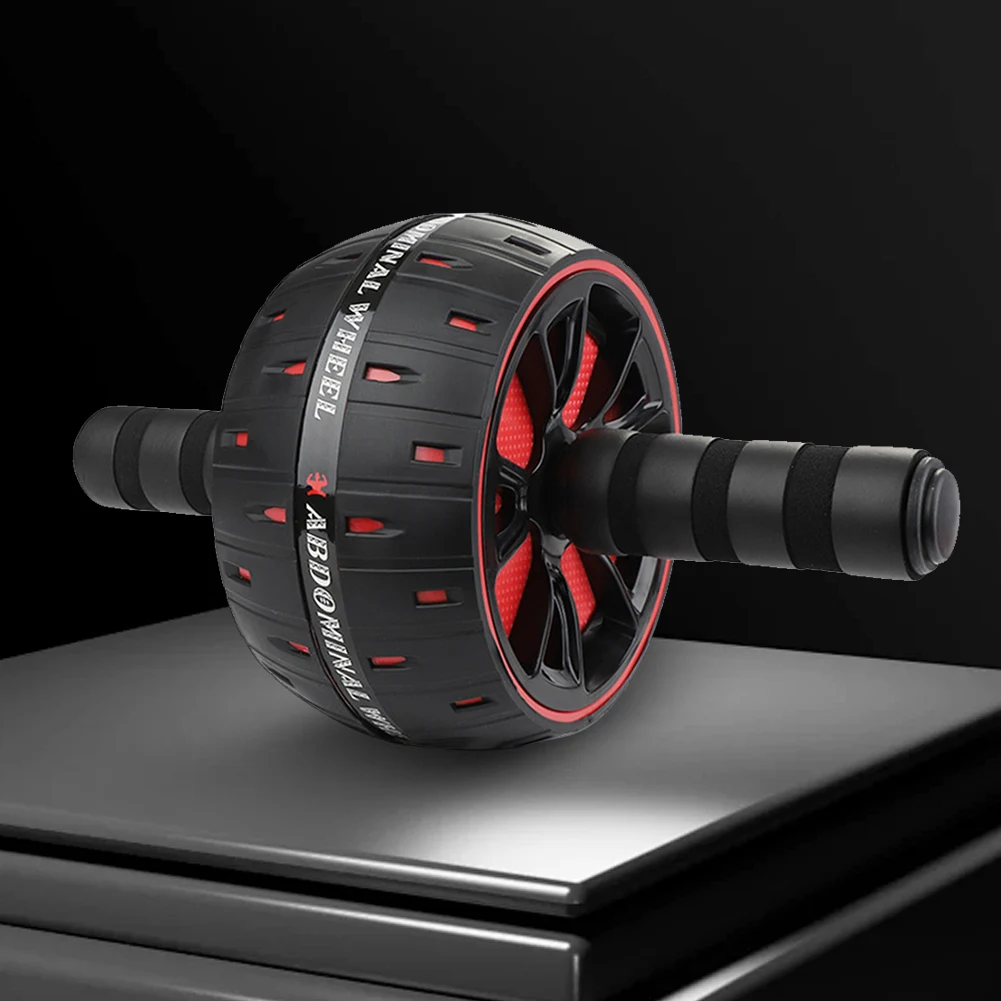
Kneel on the floor and place the ab roller in front of you.
Grip the handles firmly with both hands.
Engage your core and keep your back flat — avoid arching.
Slowly roll the wheel forward, extending your body as far as you can while maintaining control.
Keep your abs tight and your back straight — do not let your hips sag.
Pause briefly when fully extended.
Use your core muscles (not your arms) to pull the roller back toward your knees.
Return to the starting position in a controlled manner.
Kneeling Roll-Outs – Ideal for beginners; build stability and form.
Full Roll-Outs (Toes Only) – More advanced; keep your body in a straight line.
Oblique Roll-Outs – Roll diagonally to target oblique muscles.
Single-Arm Roll-Outs – Increases balance and isolates one side.
Wall Roll-Outs – Use a wall as a safety stop for better control.
Standing Roll-Outs – Very advanced; maximum core engagement.
Plank Hold with Roller – Hold a plank position gripping the roller handles.
Knee Tucks – Combine with roll-out for extra lower ab activation.
Keep movements slow and controlled — never jerk the roller.
Warm up your core before starting.
Avoid arching your lower back — it can cause strain.
Breathe steadily: inhale forward, exhale returning.
Start with 5–8 reps and progress as strength improves.
The ab roller targets your entire core — rectus abdominis (six-pack), obliques, hip flexors, and even your lower back and shoulders.
It’s simple but requires control, form, and progressive strength building.
Before starting, do:
Cat-Cow Stretch × 10
Plank Hold × 30 seconds
Torso Twists × 15 per side
Knee-to-Chest × 10 per leg
Shoulder Rolls × 10
Kneeling Roll-Out
Start on knees, roll forward slowly, then pull back using your abs.
Focus on short, controlled movements.
Wall Roll-Out
Roll toward a wall to prevent overextension.
Great for learning depth control.
Partial Roll-Outs
Move halfway out and return — perfect for building strength gradually.
Static Hold
Roll halfway and hold for 10–20 seconds before returning.
Oblique Roll-Outs
Roll diagonally (left and right) to hit side abs.
Engage obliques to pull back in.
Single-Knee Roll-Out
Keep one knee raised slightly for added balance challenge.
Knee Tuck Roll-Out Combo
Roll out, return halfway, then tuck knees to chest before restarting.
Slow Negative Roll-Outs
Take 3–5 seconds rolling out, then return quickly.
Emphasizes muscle control and tension.
Standing Roll-Outs
Perform from standing position — full-body extension.
Extremely challenging; use wall support if needed.
One-Arm Roll-Outs
Use one arm on the roller, other behind back.
Works stabilizers, balance, and unilateral strength.
Ab Roller Plank to Pike
In plank, roll the wheel toward feet to raise hips, then back to plank.
Great for lower abs and flexibility.
Ab Roller V-Roll
Roll out diagonally forming a “V” shape — left, center, right.
Works obliques and upper abs simultaneously.
| Day | Focus | Example Routine |
|---|---|---|
| Mon | Core Strength | 3×10 Kneeling Roll-Outs + 3×8 Wall Roll-Outs |
| Wed | Stability | 3×12 Oblique Roll-Outs + 3×10 Static Holds |
| Fri | Endurance | 4×10 Full Roll-Outs + 3×15 Knee Tucks |
| Sun | Recovery | Light yoga or stretching |
Letting your lower back sag — always keep your abs tight.
Using arms too much instead of core.
Overextending too early — can strain your back.
Holding your breath — exhale while pulling back.
Place a mat under your knees for comfort.
Pair with planks or Russian twists for a complete ab circuit.
Focus on quality over quantity — control every inch.
End with a cool-down stretch (Cobra pose, Child’s pose).
